It can be a bit daunting ordering headshot prints -especially if it is your first time doing so- and sometimes it's tough to know how to get your prints done in order to get maximum impact. Your photographer will have helped you out with the imaging side of things, but when it comes to having your prints made, you have many options to choose and a few basic rules to consider.
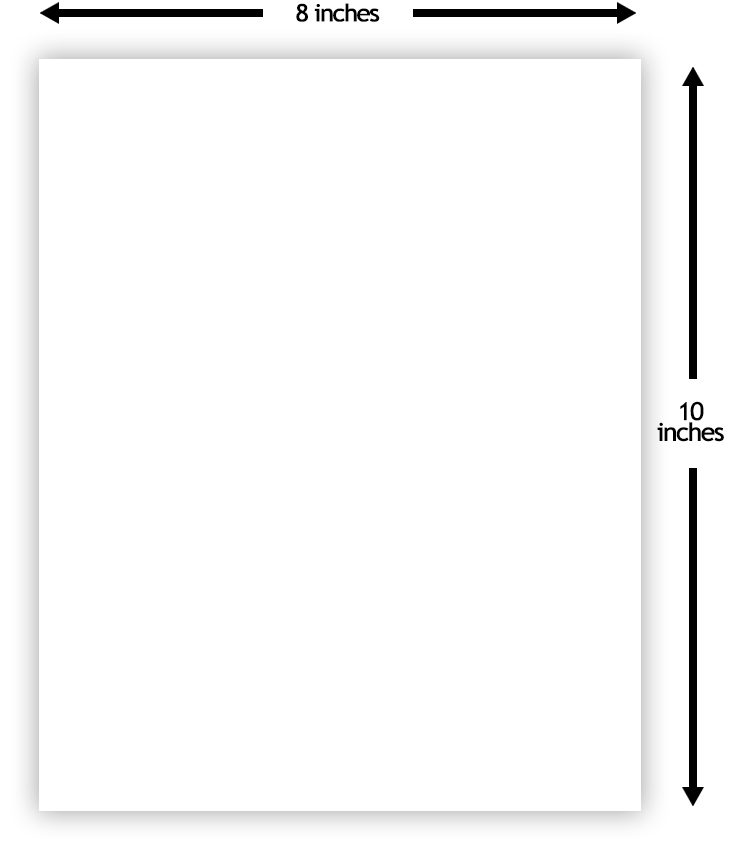
From here on, this guide will assume your required print size will be 10x8 inches, as that is by far the most common format to print.
Digital file suitablity
At Visualeyes we will check if your image is suitable for printing, but if you want to get it right first time, you can check your image file yourself. To do this, you need to look at a few things. The first is the file format. JPEG (or JPG) is the most common, but we also accept TIFF files. The second is vastly more important- the resolution and size of the image. Many images we recieve are too small to print from and would only produce a blocky, low quality print.
A quick way to determine if a file is large enough to print from is to check its file size. A sufficient file size isn't a cast-iron guarantee that your image is suitable, but is generally a good indicator. A file size of 2MB or above is generally sufficient.
Or, you can use the button below to find the file size suitability straight away.
Check the size of any image here
This file is the wrong file type, or has no file type. Please use JPEG or TIFF files only.
too small
big enough
▲
Suitability: Too Small This image file is too small.
Suitability: Borderline This image file is possibly sufficient for printing, but a larger version would be preferable.
Suitability: Sufficient This image file should be fine for printing.
Seems too technical? Don't worry- if you are placing an order via our online ordering page, the order form will warn you if your image file is deemed too small to print from. Also, we will contact you if we have any concerns regarding your image.
Officially your image needs to be sized at 300dpi/ppi at 10x8 inches (assuming a 10x8 print) so if you are cropping your image yourself please bear this in mind.
So what can you do if your image is too small?
Find out if you have been given more than one version of the image by your photographer. Quite often photographers will supply you with a low-resolution 'web' version (handy for sending via email) and a hi-resolution 'print' version (handy for... well, printing). The 'print' version will be the one that we need. If your photographer has given you a login page to access your photographs, there could well be options to download different sizes there. If in doubt, contact your photographer.
If your image is too small, please do not try to fix it by simply increasing its dimensions- it will make no difference. A quality print can only be gained from a true high-resolution file.
Lets be honest- it's normally your budget that will determine the amount of prints you have. However, the more prints you have, the less the price per print will be. In terms of file sizes, 10x8 inches is the main format. It probably accounts for 90% of the prints we do. It's been the standard for years and is almost certainly what a casting director or agent is going to expect from you.
Other sizes are available however- sometimes smaller formats are ordered as they are handy for mail-outs as they can fit in a smaller envelope. 7x5 inches and 6x4 inches are quite common, as they are 'postcard sized'.
One thing to consider is if your prints are for someone or something specific- some agencies for example are quite particular about how their prints need to look. They may for instance prefer a certain size or paper surface, or require you to have your name on the prints as well. If in doubt- check with the agent!
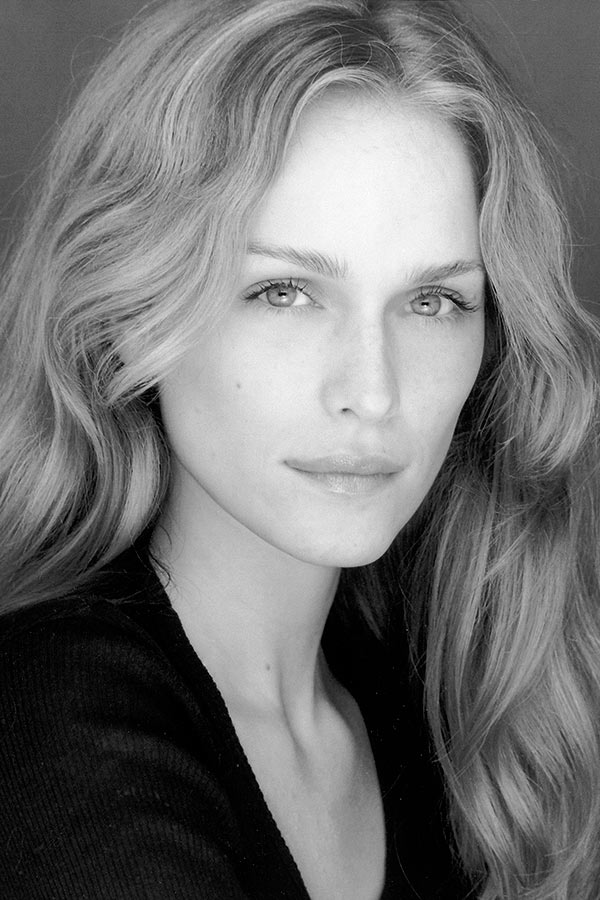
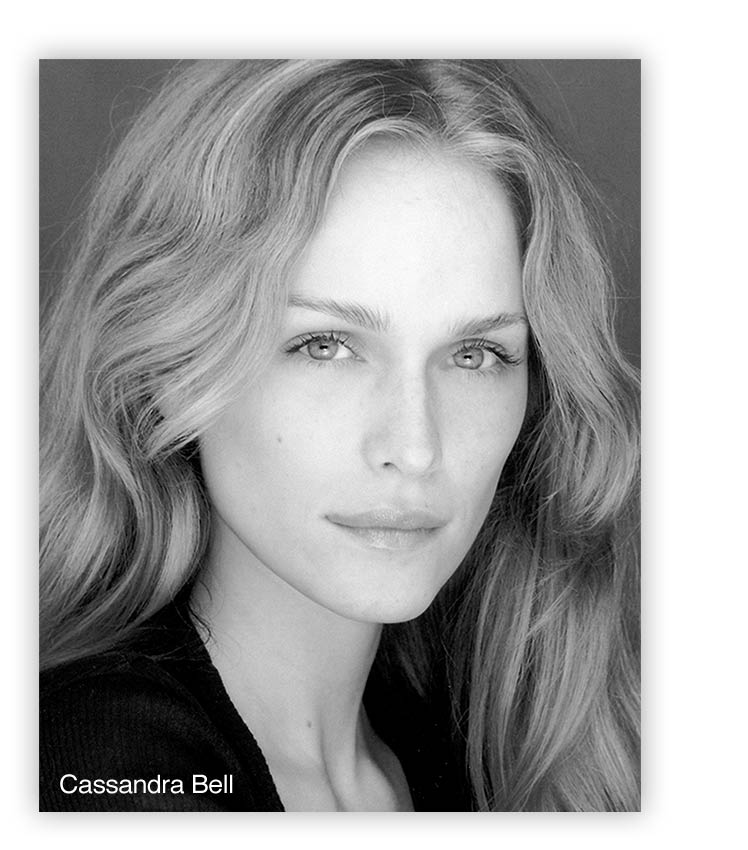
In most situations, your photographer will supply you with an image that is already cropped to 10x8 inches. If, however, they supply you with a 'full frame' image, then we may tell you that we have to crop your picture or add a border, depending on your requirements. This can create a conflict of shapes when printing, as the image supplied wont fit snugly in the 10x8 inch (or other size) print.
It all depends on what your priority is: a full image, or a borderless print (stretching or distorting the image won't work- trust us, it will look awful).
If you click the options below, you can see how an odd-sized image will not fit the confines of the paper and will need to be cropped or bordered. It's a bit like trying to fit a rectangle into a square- sometimes it wont work!
See what happens when this image is:
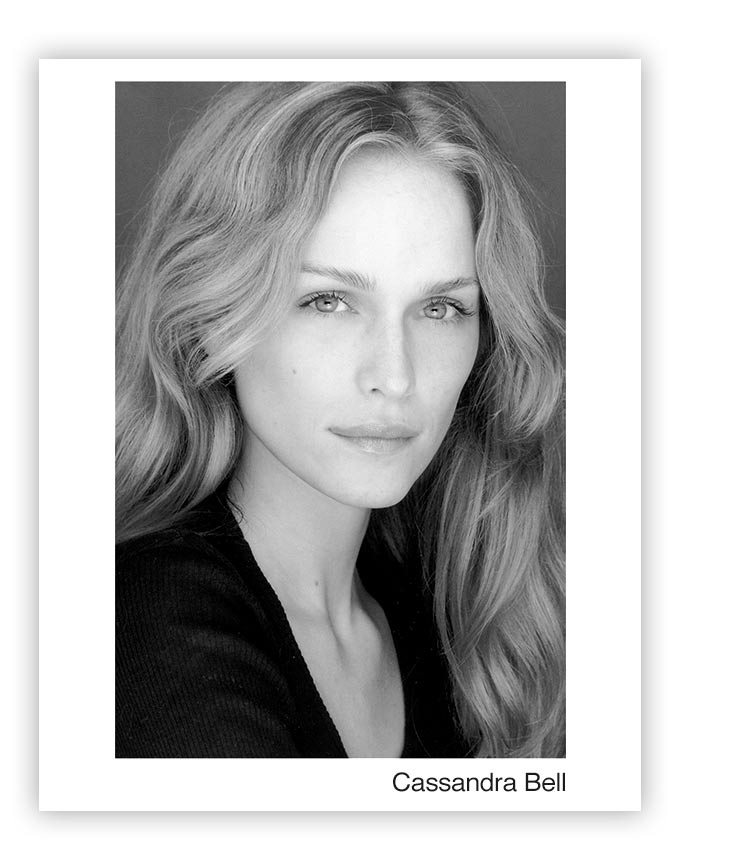
This print is bordered. In order to preserve the whole height of the image, a border needs to be added to take up the redundant space either side of the image. A border is handy if you need a space to accommodate a caption.
Some people simply don't like borders from an aesthetic point of view, but it is really down to individual taste and what is practical.
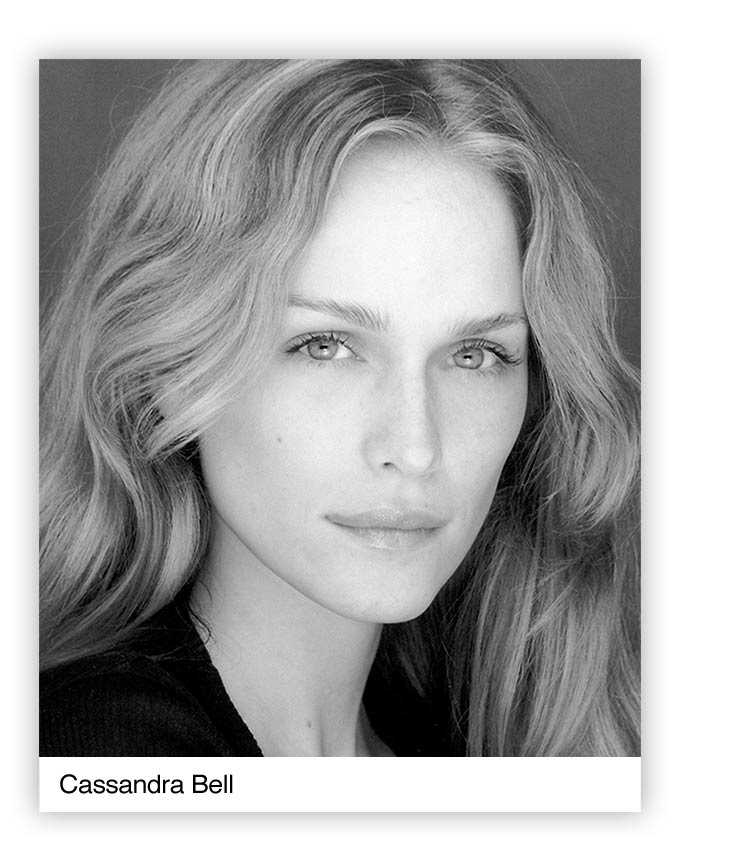
This print is borderless. Notice how the bottom of the image gets cropped off from the paper. Most times this is not a problem but if you have something in the lower picture you wish to keep (long hair for example) you might want to consider having a border.
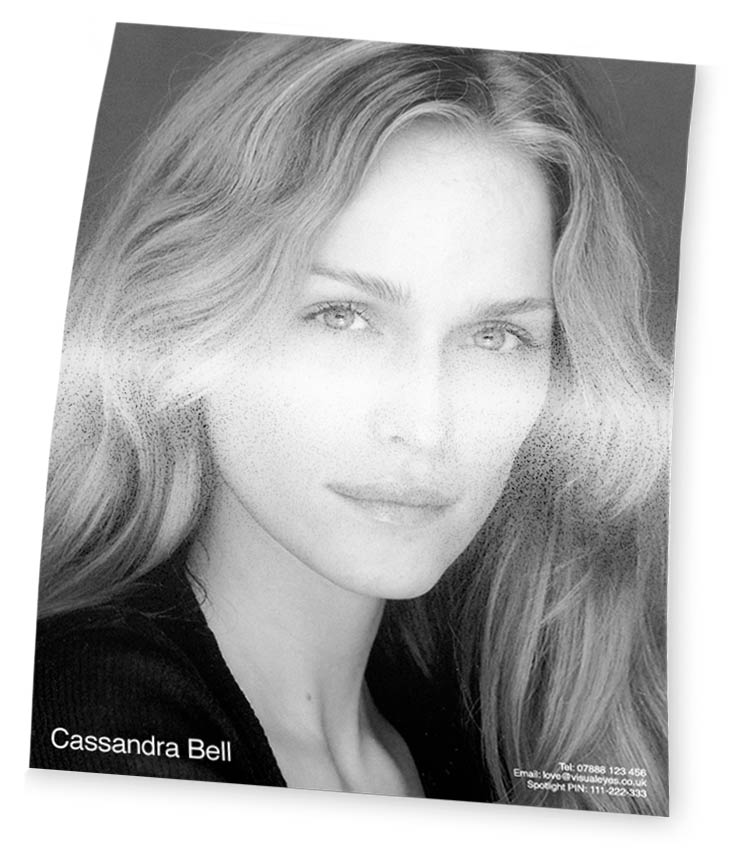
If you click the buttons below, you will see how different caption formats look using various print styles.
Caption in a border with:
Caption in a strip with:
Caption within the image with:
Helvetica is our font of choice for captioning- it is very simple and practical. However, we are able to print your captions with a different type style if you wish. A few examples are included below, but if you have a different font in mind then let us know when you place your order (using the 'further instructions' box on our online ordering page) and we'll see if we can use it.
Type your name here, and a caption example will be generated below:
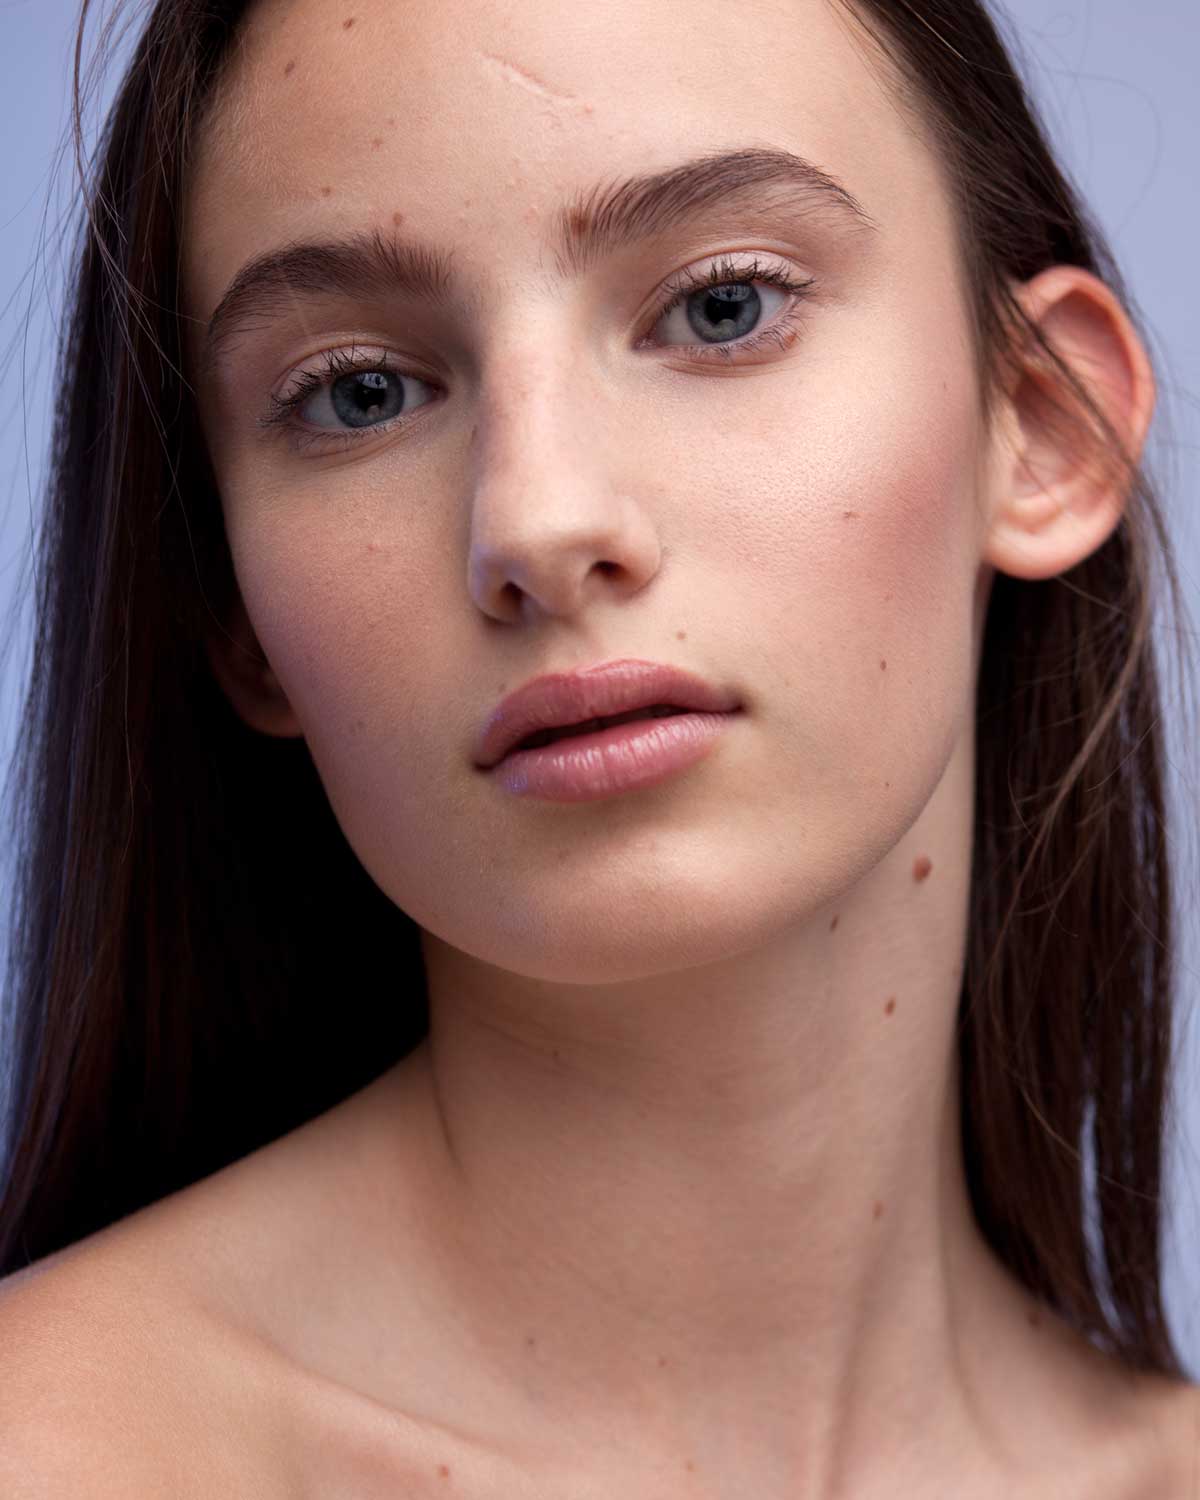
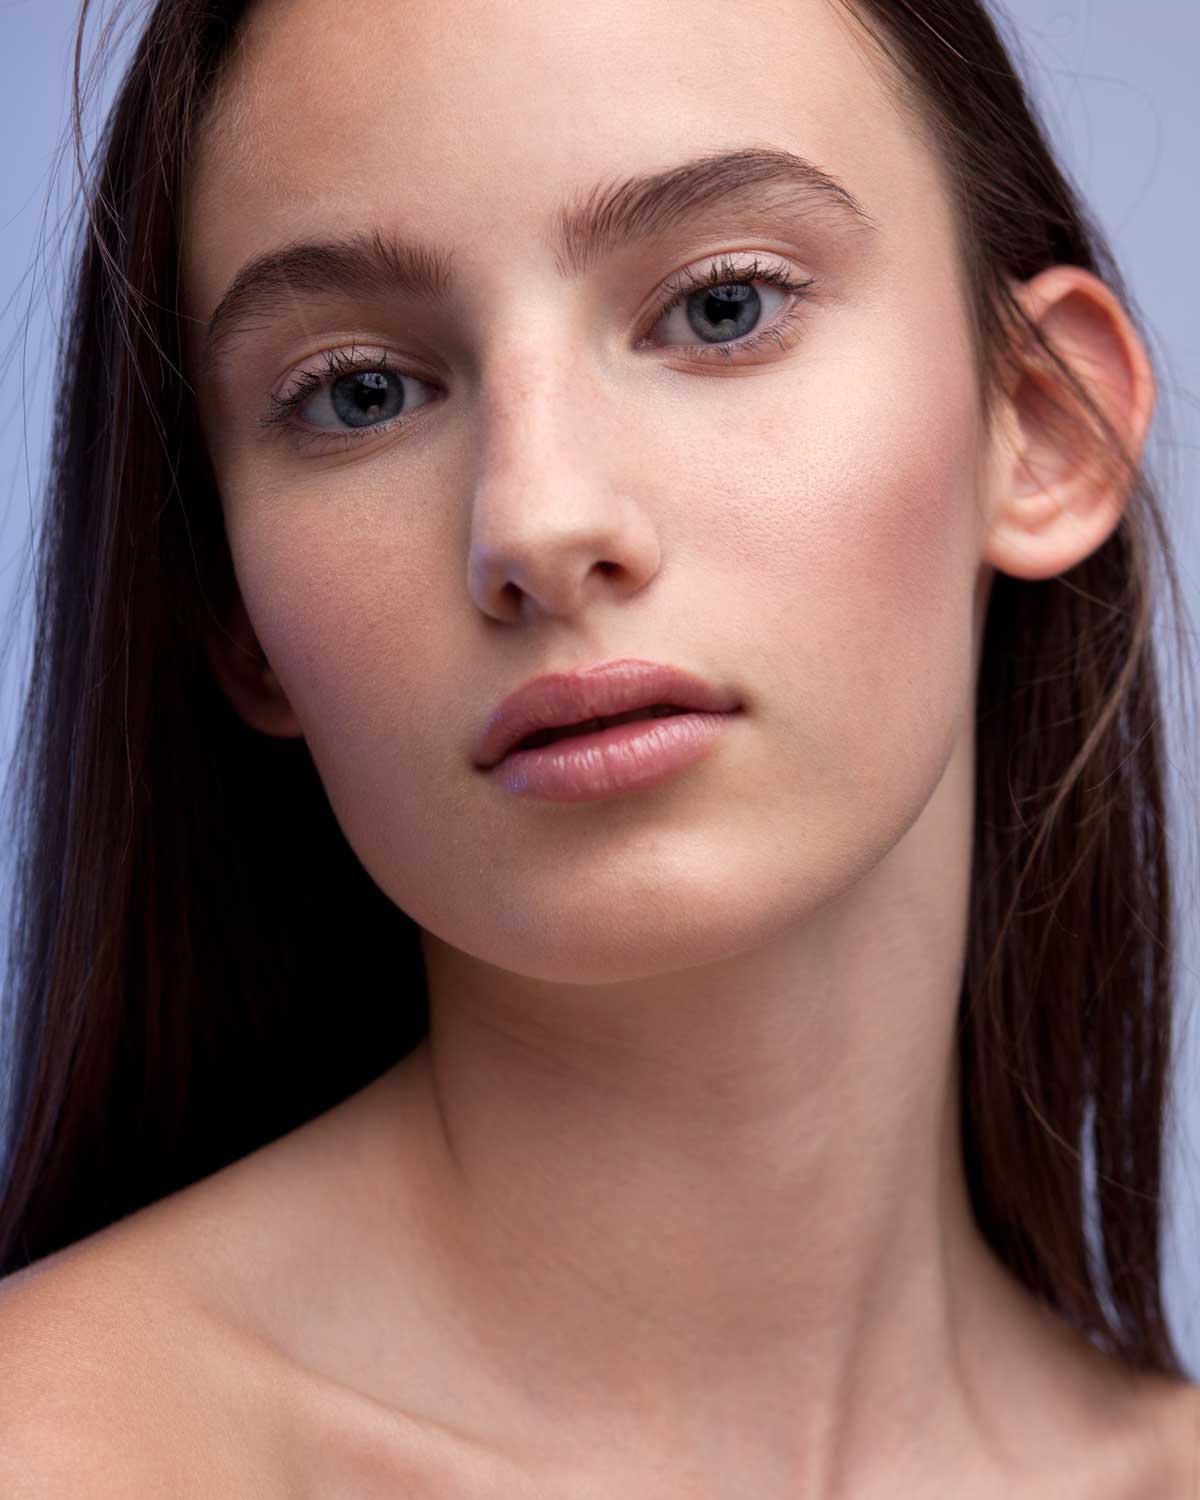
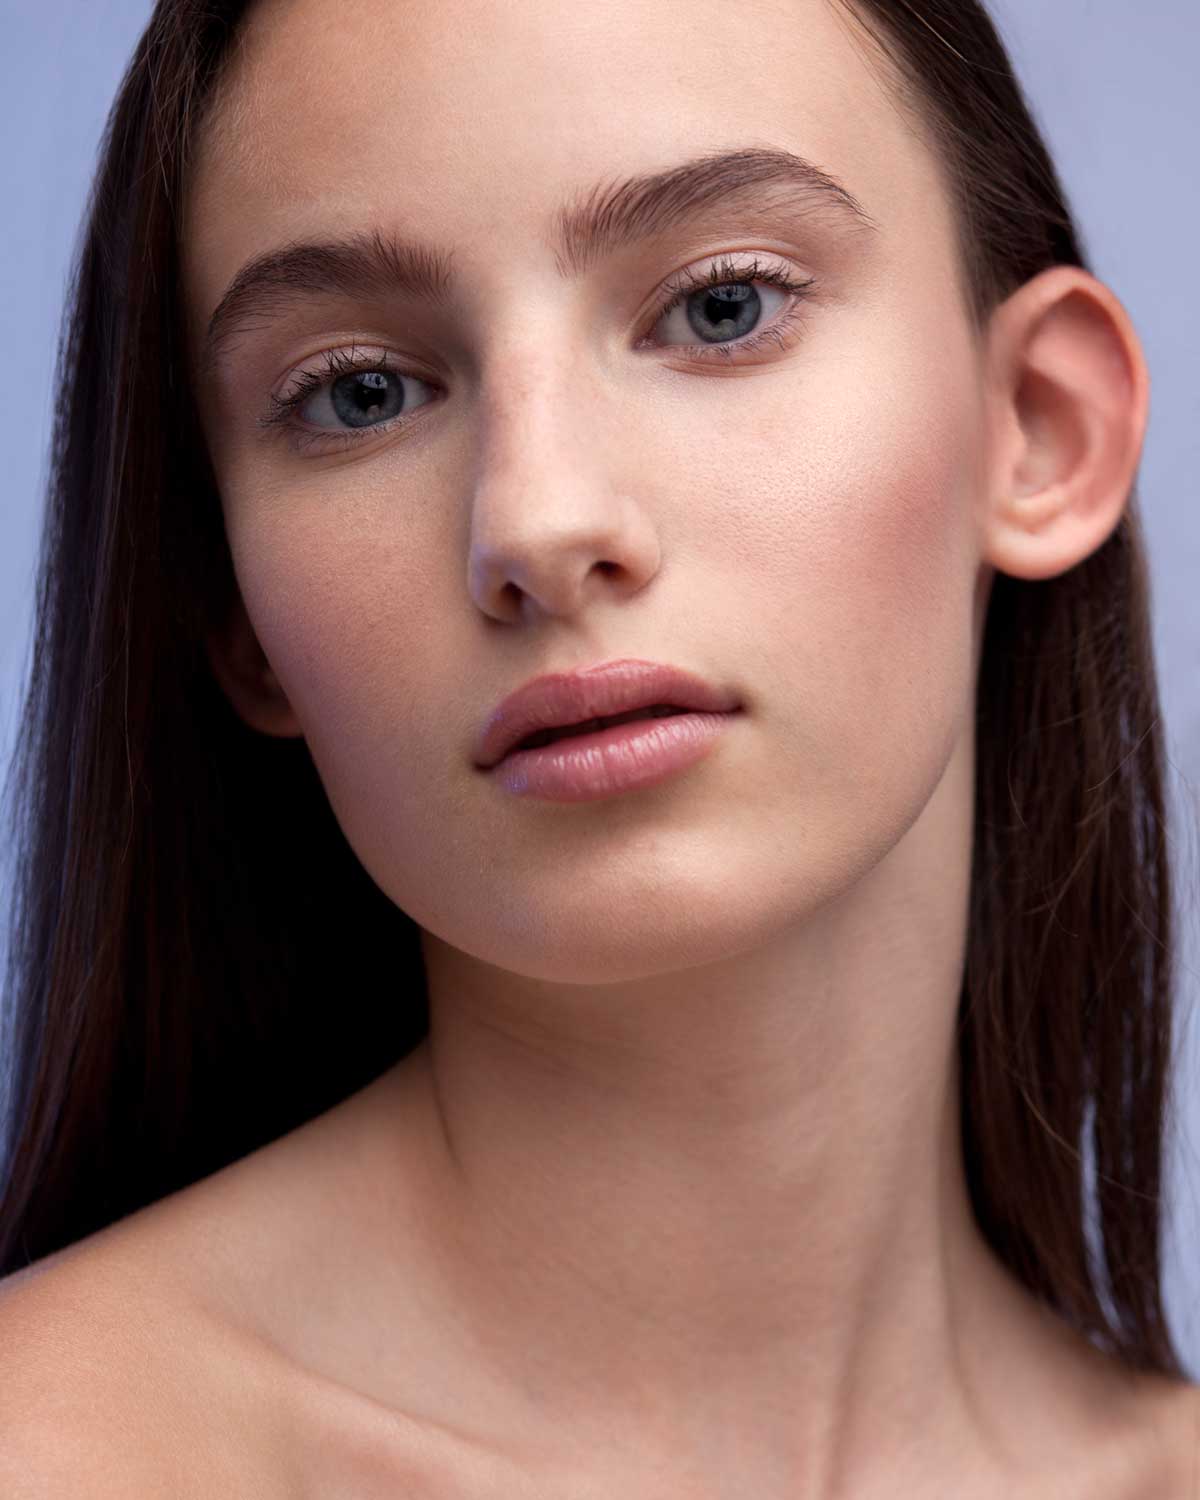
We can undertake all types of retouching, from minor spots and blemishes right up to high-end image manipulation. When we recieve your image for printing, if there is anything obvious that shouldn't be there (like a huge spot on the end of your nose) and it is simple to get rid of, we will remove it.
Beyond this, there are various levels of retouching available. The charge for retouching is via a quotation, so we will have to see your image first. The illustration below is a general guide to the kind of price you could expect to pay for each level of retouching, from minor to major.
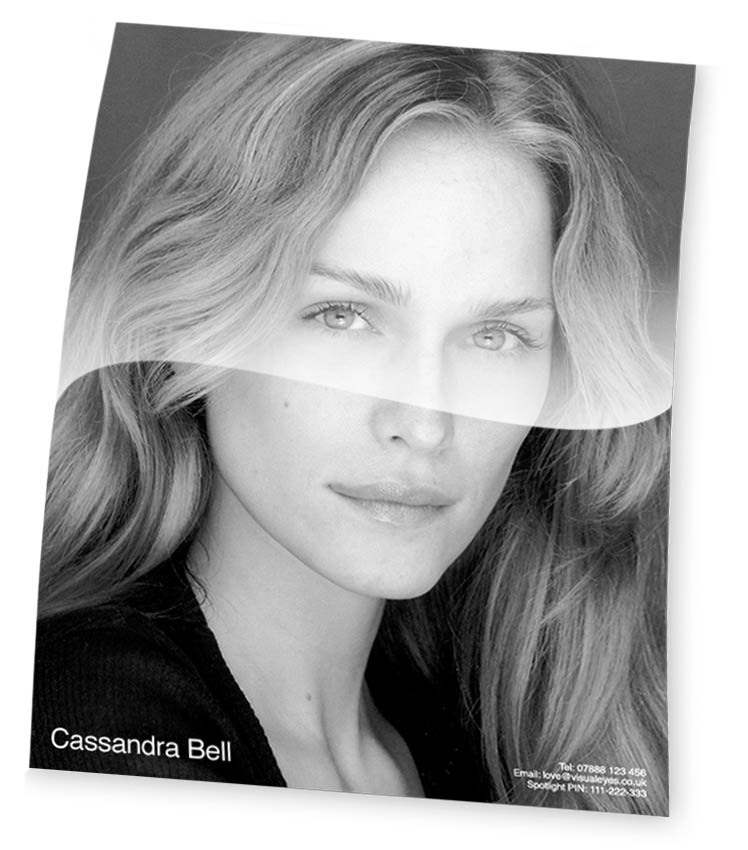
It's a bit tricky trying to illustrate the paper surfaces on a website, but we have tried to convey the differences here. The main difference is the reflective quality of the print.
We always have sample prints on our trade counter, so you are welcome to drop in and have a look.
Click the options below to see the two surfaces.
Also known as semi-matte or lustre, this paper has a slightly textured surface with a subtle reflection. It can have a slight 'flattening' effect on pictures, but less likely to retain fingerprints. The texture has been exaggerated in the illustration.
Has quite a harsh reflective surface. Has a tendency to reproduce lights and darks very well, but attracts fingerprints so needs careful handling. Generally more suitable for fashion pictures.